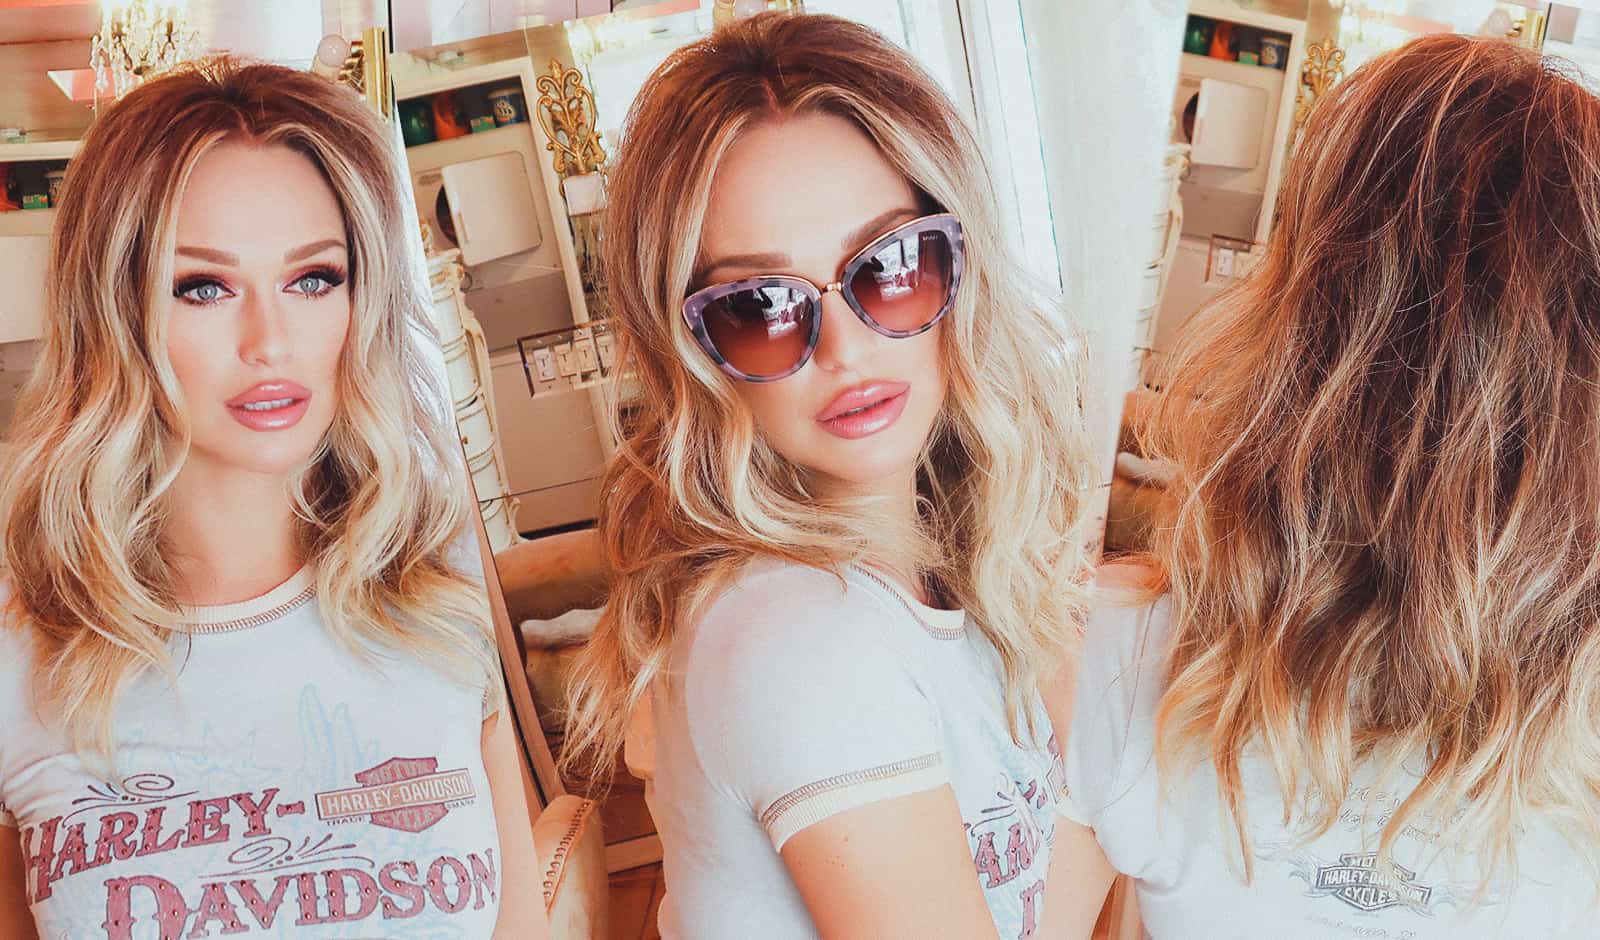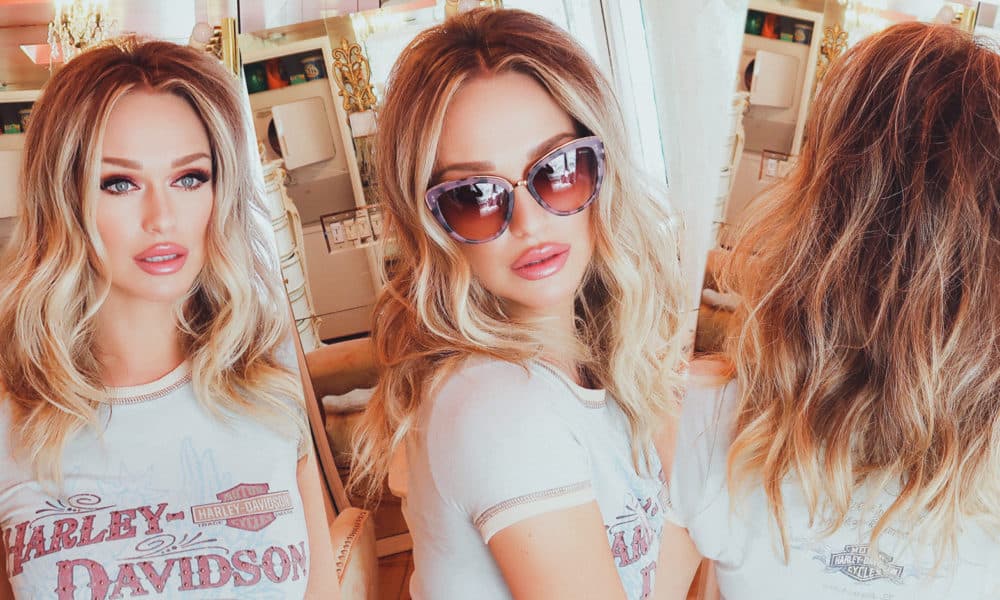
How many times have you woken up after your night out and noticed that your hair looked better than when you freshly styled it? How many times has your hair looked better the second or third day after you curled it and you wished your hair looked like this on your night out? If you’re a glam girl like I am, I’m pretty sure this has happened to you many times. So, how do you achieve this look without trying?
This is another hair tutorial I have had requested to do many times. I call this “French Bedroom Hair”. I usually do hair tutorials with hair extensions in, so I thought it would be fun to do this video without my extensions. The nice thing is that you don’t even need hairspray to achieve this look, but you do need good texturizing products. I looked for some good cruelty-free hair products and found Head Kandy Professional, so I reached out to them since their products looked promising. I was happy to put them to work, and I feel that they achieved exactly what they were meant to achieve. I’m also done with my dry shampoo, so I will definitely go buy theirs going forward!
Here’s how I like to achieve that bedroom hair look:
Step 1: Dry Shampoo
First, apply dry shampoo to any parts of your hair that might be oily. Brush out your hair if needed, and part it in the middle. I used Head Kandy’s Style Me WannaBe- Dry Shampoo.
Step 2: Section and Curl
Now, section your hair, putting all the hair from the front of your ear forward into a section. Then, take the hair from behind the ear back and curl it vertically in big chunks. To curl the sections, twist the hair slightly and wrap it around the curling iron in the direction away from your face. Leave 2-3 inches at the end of each section uncurled by not wrapping it around the curling iron.
Then, take the front section you put aside in front of your ear. Make this part two sections. Take the section that is the closest to the back part of your hair that you have already curled, and curl this piece towards your face! This will give your hair more volume in the side/front. Then, the very front piece should be curled back away from your face to match the rest of your hair.
Step 3: Spray for Texture
For this, I used Head Kandy’s Style Me Air Head – Shake Texture Spray. I sprayed it lightly in sections all over my head to give my hair a good texture. Then, I waited to let the hair dry.
Step 4: Apply Volumizing Powder
For this, I used Head Kandy’s Style Me Drama Queen- Volume Powder Puff. Apply the powder mist to the roots of your hair to give it lift. After applying, brush your hair with your fingers, shaking it to merge all of the products together. Toss it so it’s more bedroomy.
Step 5: Shape Your Hair
Shape your hair as you see fit. I shook my hair a lot to merge the products and give my hair volume. Then, I teased it in the back a little, giving it that French Bardot-esque look.
YOU MIGHT ALSO LIKE:
A Secret to Building Fuller Lashes