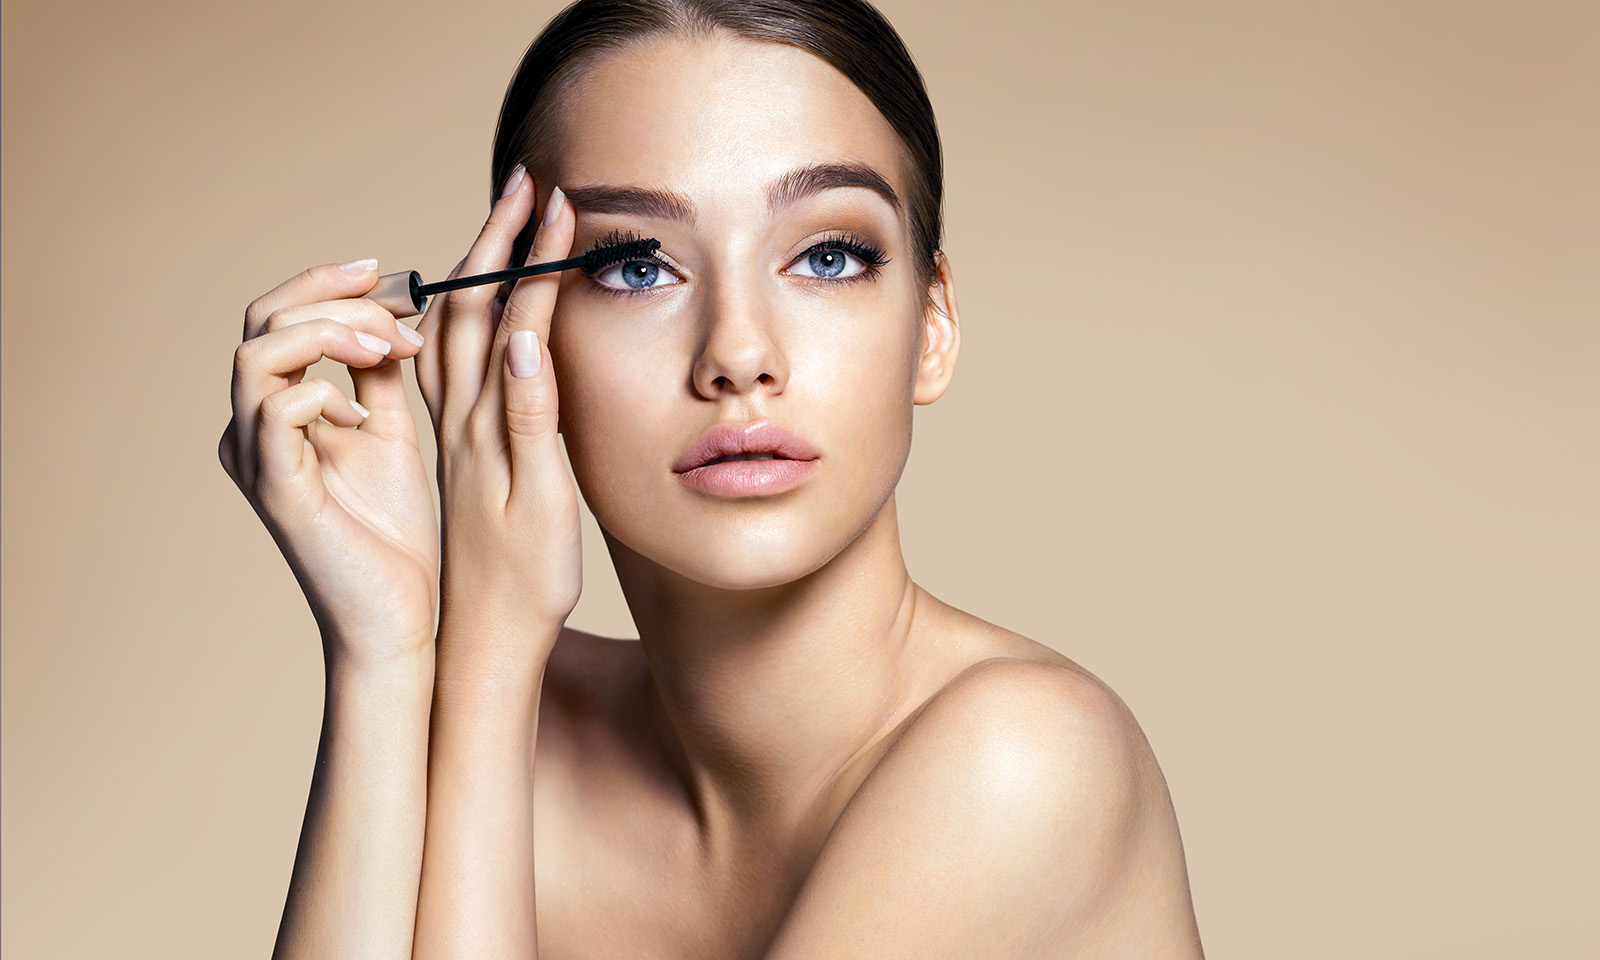
Are you tired of spending time and money on mascaras that don’t quite deliver that bold, full-lashed effect you crave? Or perhaps you’re seeking a more budget-friendly and personalized alternative to salon lash extensions? Get ready to be your own lash boss because we’ve got you covered with this comprehensive guide to DIY lash extensions.
Imagine waking up every day with effortlessly gorgeous, customized lashes that turn heads and make you feel like a million bucks. Not only will you save time getting ready in the morning, but you’ll also gain the confidence that comes from rocking a look that’s uniquely yours.
We’ve packed this guide with insider secrets, tips, and tricks that will help you navigate through different materials and styles, to achieve a stunning set of lash extensions.
Customizing Your Lash Extensions
Discovering your lash personality is the first step to achieving flawless DIY lash extensions. Lashes, just like our personalities, come in various shapes, sizes, and materials. Understanding what works best for you will create a personalized lash look that enhances your natural beauty.
Materials:
There are three main materials used for DIY eyelash extensions by Lilac St: synthetic, silk, and mink. Synthetic lashes are the most budget-friendly option, but they can be a bit heavier and less natural-looking. On the other hand, silk lashes offer a balance between affordability and a realistic appearance. Mink lashes, while typically more expensive, provide the most natural and lightweight feel.
Styles:
Lash extensions come in different lengths, thicknesses, and curl types. To find the perfect match for your eyes, consider your eye shape, the look you’re going for, and your personal preferences. You might prefer a more natural and subtle enhancement, or perhaps you’re after a dramatic, voluminous look. Don’t be afraid to experiment and mix different lengths and curl types to achieve your desired style.
Lash Mapping:
Lash mapping is the art of planning your lash extension application to create a customized pattern that complements your eye shape. This technique involves strategically placing different lengths and curl types to enhance your eyes’ natural beauty.
For example, you can create a cat-eye effect by placing longer lashes on the outer corners or open up your eyes by using longer lashes in the center. There are no hard and fast rules – let your creativity shine and tailor the lash map to suit your unique preferences.
The Art of Application: Tips and Tricks
Now that you’ve got a better understanding of how to customize your lash extensions, it’s time to master the art of application. With the right techniques and some practice, you’ll be well on your way to achieving that flawless look. Here are some useful tips and tricks to help you:
The Mirror Technique:
Place a mirror flat on a table, and position yourself above it so you can look down into the mirror. This angle allows you to see your lash line clearly while keeping your lids relaxed and your hands steady. You’ll have a much easier time applying the extensions when you can see what you’re doing.
Achieving Symmetry and a Seamless Finish:
One of the most important aspects of a flawless lash look is achieving symmetry between your eyes. Start by applying extensions to one eye, then switch to the other eye after every few lashes. This alternating approach helps you maintain balance and ensure that both eyes are progressing evenly.
Make sure to place the extensions as close to the lash line as possible without touching your skin. This will create a seamless blend between your natural lashes and the extensions.
Apply Lash Extensions in Sections:
Instead of applying lash extensions from one end of the eye to the other, work in sections. Start with the outer corner, move to the middle, and finish with the inner corner. This method helps you maintain control of the application and ensures a more even distribution of the extensions.
Using the Right Amount of Adhesive:
Using too much adhesive can lead to clumpy, messy lashes, while using too little may cause your extensions to fall off prematurely. To find the right balance, dip the extension’s base into the adhesive, then gently wipe off any excess on the edge of the adhesive container.
Lash Extension Hacks for a Flawless Look
You’ve learned how to customize your lash extensions and mastered the application techniques. Now, let’s elevate your skills even further with some insider hacks that will help you achieve a flawless, long-lasting lash look.
Prep your natural lashes: Before you begin the application process, make sure your natural lashes are squeaky clean and free of any oils or makeup residues. Use a gentle oil-free cleanser and a lint-free pad to thoroughly cleanse your lashes.
Cure the adhesive faster: You can use a lash fan or a handheld fan to blow air over your freshly applied extensions.
Isolate individual lashes: To achieve a professional finish, it’s important to isolate each natural lash before applying an extension. Use a high-quality, precision lash tweezer to separate the lashes and avoid accidentally gluing multiple lashes together.
Avoid touching your lashes: After you’ve applied your extensions, resist the urge to touch, rub, or play with them. The oils from your fingers can weaken the adhesive bond and cause the extensions to fall off more quickly.