


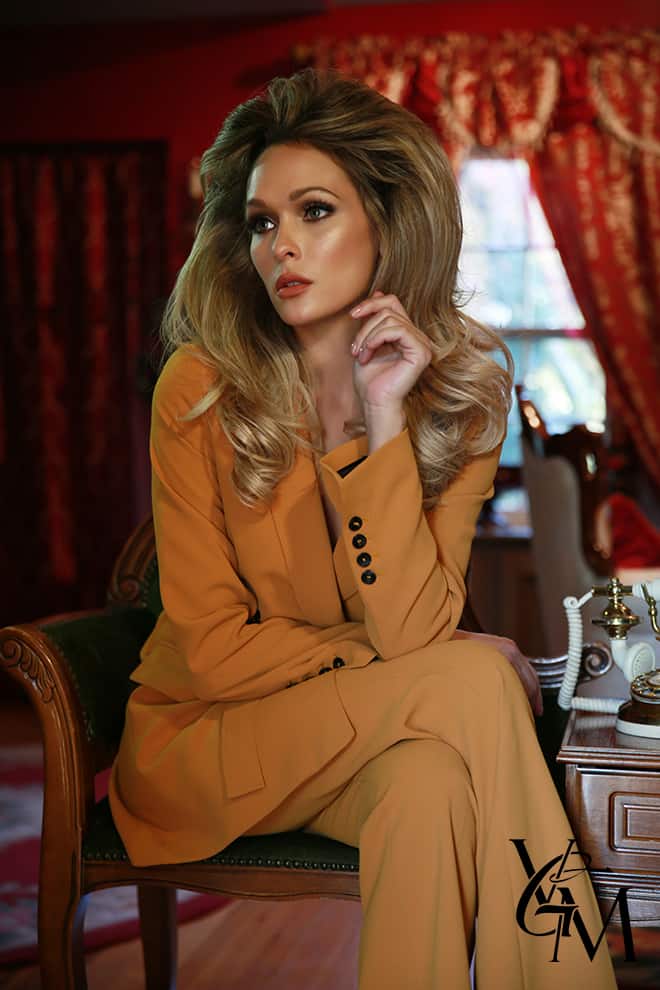
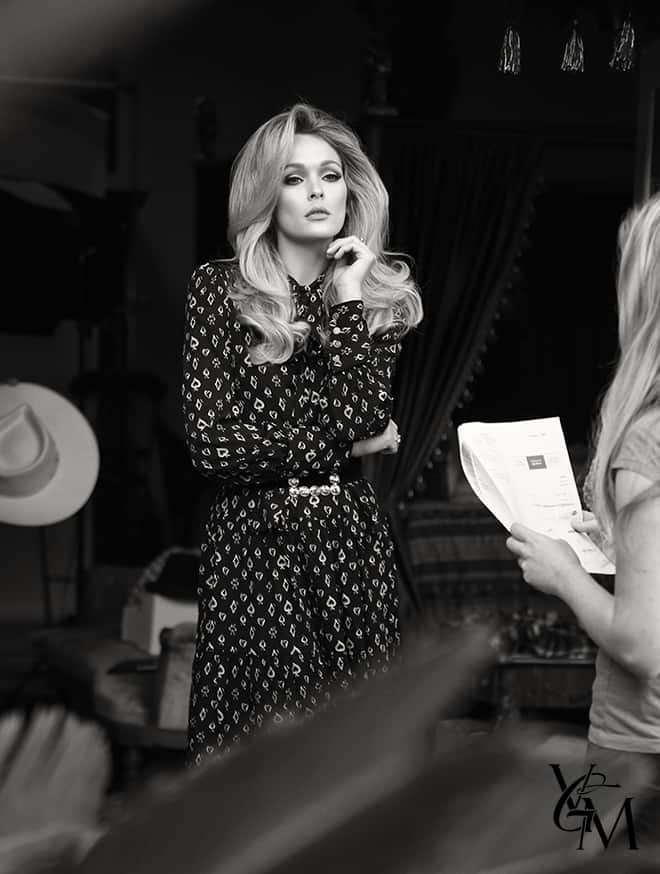
Ursula Andress is a beauty who is best known for her role as bond girl Honey Ryder in the James Bond film, “Dr. No.” Not only was she a famous actress, but she was also a model and a sex symbol in the 1960s. Ursula was known for both her beauty and her ability to “play it cool.” So, we thought it would be fun to have Ricardo Ferrise recreate one of Ursula’s signature hair looks on our model Holley Wolfe.
How to Get the Look
To get this look as Ricardo does it, you will need a hair faux or “wiglet”. This is basically a chunkier extension piece to add to the top of your head during one of the steps. To reference, you can clearly see the piece Ricardo uses in the video.
Step 1: Section Top
Grab the hair at the top part of your head, and separate it from your hair underneath and at the sides of your head.
Step 2: Twist and Clip
Take the top section that you have separated, twist it, and clip it up on the top of your head.
Step 3: Hairspray and Tease the Remaining Layers
Hairspray and tease the remaining hair that you didn’t put in your top section.
Step 4: Curl and Pin
After you have teased the sides and bottom of your hair, curl and pin them. When you pin the hair, make sure it goes slightly backwards and down in the two big sections on the sides and down in the back. Now the bottom of your hair is done!
Step 5- Use Dry Shampoo
Take the top section of hair that you separated and apply dry shampoo to it to lift the roots.
Step 6- Section, Curl, and Spray
Section, curl, and hairspray the top section, curling it backwards and away from the face.
Step 7- Remove Curl Pins
Once your hair is completely cooled off, remove the pins and allow the hair to fall freely.
Step 8- Tease
Tease all of your hair one additional time.
Step 9- Pull Back and Tie
In preparation of attaching a “wiglet” at the top of the head, section off hair at the front top of your head and pin it forward to keep it out of the way. Then, tie the teased top hair into a ponytail on the top of the head. Ricardo did this to create something easy for the “wiglet” to sit on. Because the hair is teased, it will easily attach.
Step 10: Attach the “Wiglet”
Now, Ricardo attaches the “wiglet.” It has a little comb-like top that he secures into the teased hair over the ponytail and after the sectioned hair at the front. Though it is hooked in, be sure to pin it to make it extra secure.
Step 11: Blend Hair Over “Wiglet”
Take the front piece that you sectioned off, and brush and blend it over the “wiglet”. Tease and spray the hair, making sure all of your front pieces hide where you put in the hair piece.
Step 12: Perfect the Look
Ursula’s signature hair look wasn’t clearly parted, so we are going for a look with all the front hair spreading back. Now’s your time to brush and perfect that look, adding your personal touches to it.
And there you have it!
The Final Look:


YOU MIGHT ALSO LIKE:
Ursula Andress 60’s Makeup Tutorial


