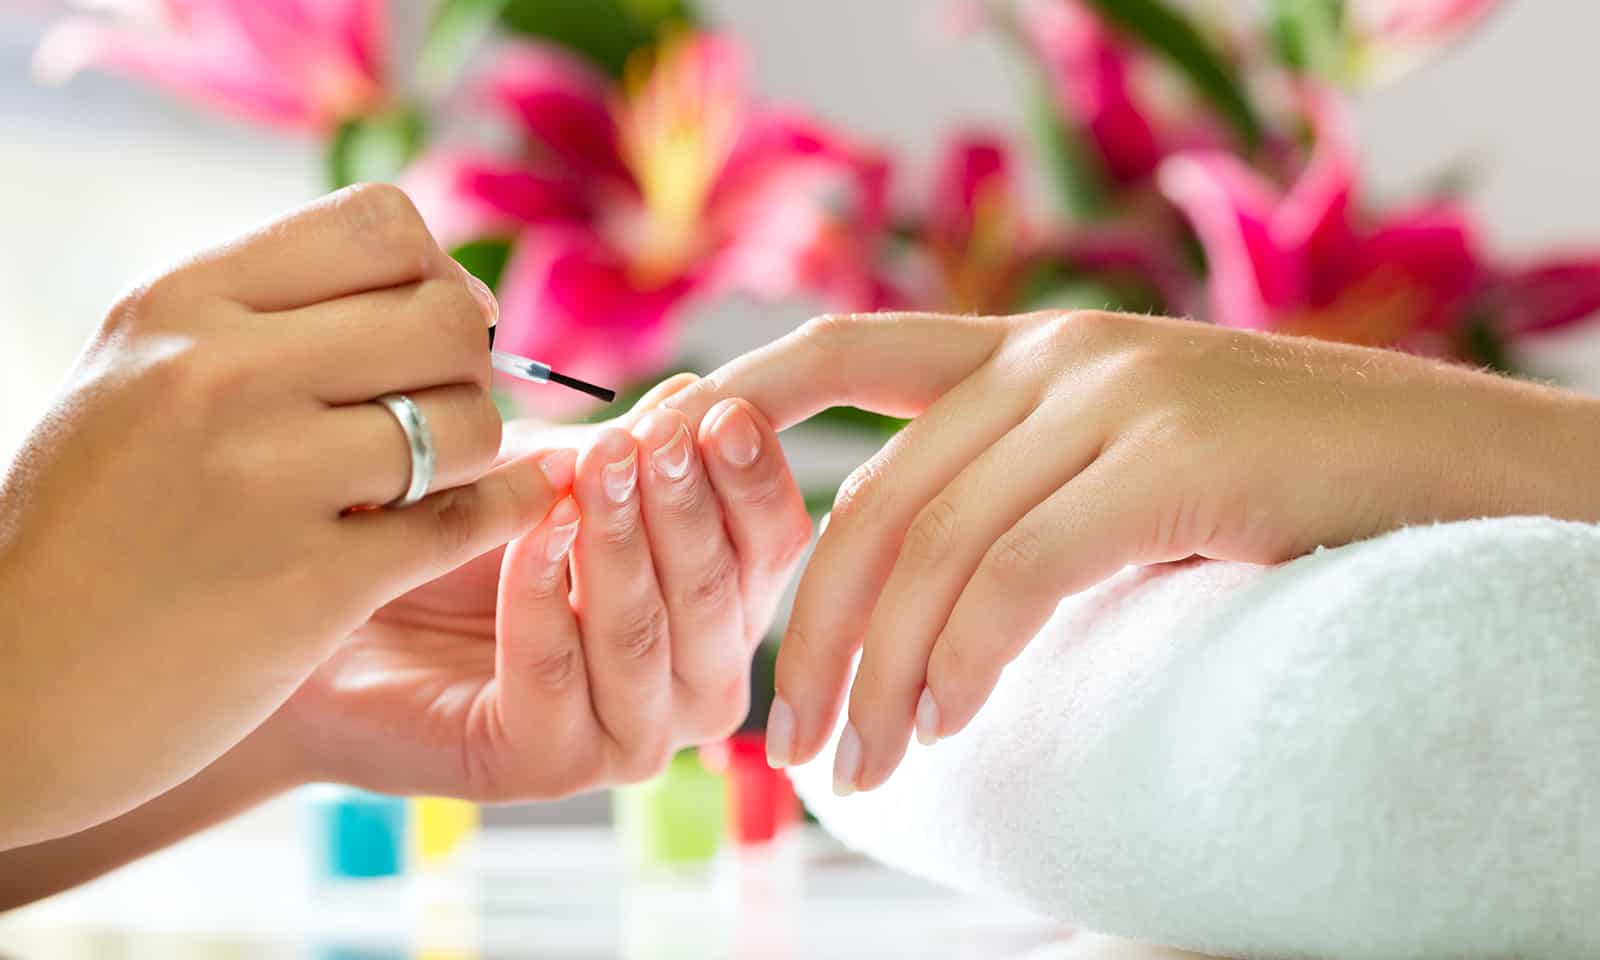

It’s virtually impossible to find a flaw in the concept of gel nails. Finally, a revolutionary method came about that granted us chip-free nails for weeks! But once you get past all the excitement and beauty of it all, you realize how problematic gel nails can be when it comes to removing that gel nail polish!
There’s nothing worse than that moment when you start to see more and more of your cuticles and realize your gel nails’ life span has finally ended. It’s definitely bittersweet. That is also the exact moment where you realize you can’t just grab a cotton pad and nail polish remover and call it a day; instead, you need to call your salon and try to book a gel polish removal session.
Well, I’m here to tell you that there is an alternative. No, I’m not talking about pulling away at the gel nails and leaving your nails looking absolutely horrific for weeks on end. What I am talking about is an at-home removal method that actually won’t damage your nails. You’re going to need some patience and some tools, but here’s your solution to leave you with gel nails minus the hassle!
File For a While
The first step is definitely going to be the most frustrating. The title really gives it away- you’re going to pick up a nail file and begin filing down the nail polish. Now, it’s important to not go too far. You don’t want to file down the entire layer of polish because A) that’s terrible for your nails, and B) that could take ages. You just want to remove the very top layer. Just keep filing until your polish is no longer shiny.
Now, this is the key step of the whole process if you want to avoid any damage. This step is skipped by most salons, and that’s where this method becomes even better than getting your gel polish professionally removed. To protect your nails and avoid any damage from the harsh chemicals of the next steps, coat your cuticles and the skin around your nail bed with any cuticle oil or really thick cuticle cream. This step is so important to prevent any damage to your actual nail as well as your nail beds; gel polish removal methods are usually very drying and this can avoid that.
Prep Your Tools: Cotton Balls, Aluminum Foil and Acetone
Here is where you need to very carefully prepare the three tools you’re going to use for this process. Begin by getting some cotton balls. Cotton balls are actually going to work better than pads here because you’re going to want them to be flexible enough to coat your nails and balls can be more thoroughly saturated. In case that didn’t give it away, you’re going to be soaking these cotton balls. Grab a bowl and fill it with whatever acetone you use – preferably pick up a hydrating formula. You’re then going to get 10 cotton balls and soak them in the bowl. This may seem dramatic and like you’re using too much acetone, but trust me that is what’s needed to thoroughly remove the gel. Then you’re going to want to cut 10 aluminum foil pieces into little rectangle shapes that you can wrap around your fingertips.
Get To Work
This step is going to take the most time and might be the trickiest. As I’ve alluded to, you’re going to be wrapping your fingertips in the tools we just prepared. I’d recommend starting with your non-dominant hand so that you can at least start off relatively easily. Now you can begin by coating each individual fingertip in an entire cotton ball. Next, wrap the foil around it to hold the ball in place. Take your time with this step because the more fingers you do, the harder it’ll get. When your nails are all covered, leave this on for 10 to 15 minutes.
Finish the Job
Once your nails are done soaking, slowly pull each foil off of your fingers. Apply pressure to make sure you’re really pulling off as much nail polish as you can. If there is still some remaining product on your nails, just go in with an orange stick to really finish the job off and lift off whatever the acetone couldn’t.
Reverse the Damage
This method is really harsh on your nails- soaking in acetone is definitely as bad as it sounds. That is why the first step was a must and so is this final one. You’re going to need to soak your nails in some oil; any multi-purpose oil will work, such as coconut oil or an almond oil. Once your nails are done soaking for as long as you’re willing to leave them (Ideally
5 to 10 minutes). Then let them dry off and finish by applying some cuticle oil to your nail beds. That’s all it takes to treat your nails while treating yourself to one less salon visit!
YOU MAY ALSO LIKE:


