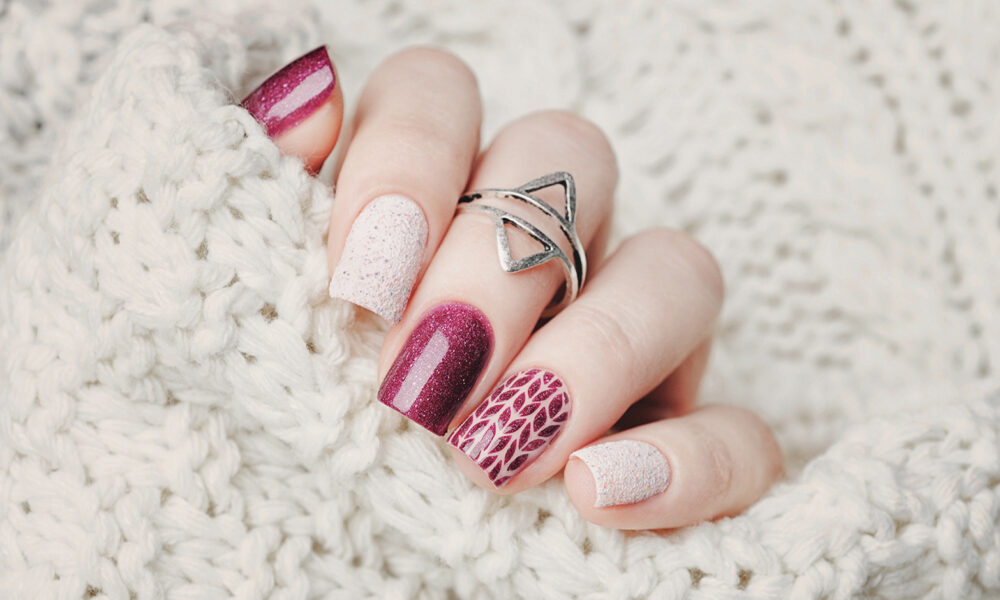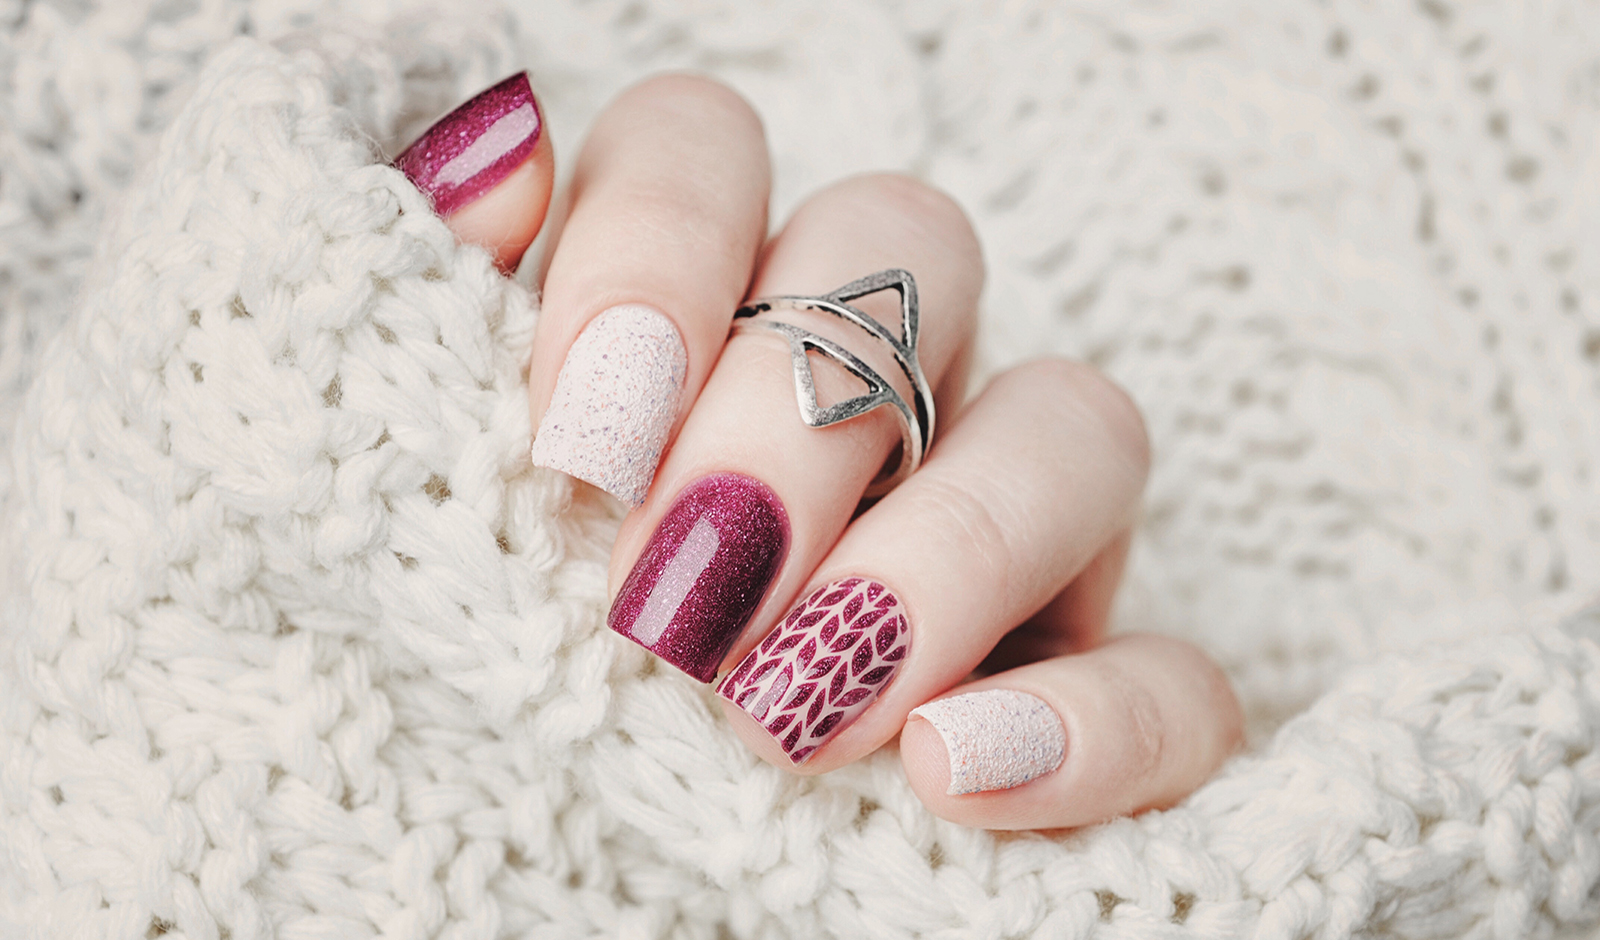

There is nothing like a gel manicure from an experienced manicurist — but if you can’t make it to the spa this week, you might try to fit in a nail art update at home. While gel is amongst the strongest and longest-lasting varnish you can apply, it requires precision and care that can make it difficult for the DIY nail artist to achieve a beautiful, high-quality look. Whether this is your first time experimenting with a gel manicure at home or you have tried and failed to use gel successfully in the past, you might benefit from the following tips and tricks for better gel manicures.
Engage in Nail Prep
Few nails are naturally in good enough shape for an immaculate manicure. Most nail artists and models put in intense effort to ensure that their nails are strong, healthy, soft and smooth, which improves how polish and other decorative elements adhere to the nail. In addition to eating a diet rich in calcium, iron, vitamins A, E and B as well as getting sufficient sleep every night, you should be moisturizing your nails regularly with a natural nail oil that will penetrate deeply into your nail and the surrounding tissues. Then, you can perform the following nail prep steps before your manicure to achieve a more attractive finished look:
- Use the soft side of an emery board to file your nails into the proper shape.
- Apply a drop of cuticle remover to each nail and allow it to sit for two minutes. Then, when cuticles are soft, gently push them back toward the root of your nail with a cuticle pusher. Do not clip your cuticles; this process should not cause pain or bleeding.
- Wash your hands thoroughly to remove any excess moisturizer or any other products that might remain on the nail.
- Use a priming board to buff away the oils on your nails.
- Apply a bonding primer under the base coat to make colors pop and ensure polish remains strong and unchipped for longer. Prime immediately before applying polish, which means you should prime one hand at a time, not all at once.
Use a High-quality Polish
Not all gel nail polishes are created equal. Cheap gel polish will be sticky and gloopy in the bottle, and once cured under the UV light, it is likely to shrink and chip more rapidly than it should. Instead of wasting time and money on low-quality products, you should invest in gel pods that are highly rated by expert nail artists. While you are improving your at-home manicure setup, you might also upgrade your UV curing light and acquire a set of nail brushes and dotting tools, which will make it easier to achieve the intricate designs of your dreams.
Apply Thin Layers
Many DIY manicurists want to get their nails done as quickly as possible, so they apply thick layers of gel polish. Unfortunately, this strategy only wastes your time and resources. Thick layers of gel will take much longer to cure, if they ever cure at all. Plus, thick layers will be more prone to shrinking, cracking and chipping, even if you have a high-quality polish. Instead, you should work in thin layers, which take only a few seconds to apply and cure.
Cap the Free Edge
One of the simplest manicure tips that works with every type of polish, you need to apply a layer of polish to the free edges of your nails. This extends the strength of the polish around your nail, so it is less susceptible to shocks that can cause cracks and chips. The cap does not need to be particularly thick; in fact, it should be thin and virtually invisible to anyone else but you.
Remove Gel Safely
No gel manicure will last forever. As your nails grow out and as cracks and chips occur in your manicure, you need to remove your gel polish properly — which does not include picking at it with your nails or teeth. Because gel cures so hard, removing it improperly will inevitably cause damage to the nail underneath, which will make it more difficult to achieve flawless manicures into the future. To remove gel properly, you should apply petroleum jelly to the skin surrounding the nail and wrap cotton balls dipped in acetone to your fingers using cling film.
The more you practice your at-home gel manicure, the better you will be at achieving spa-quality results.


