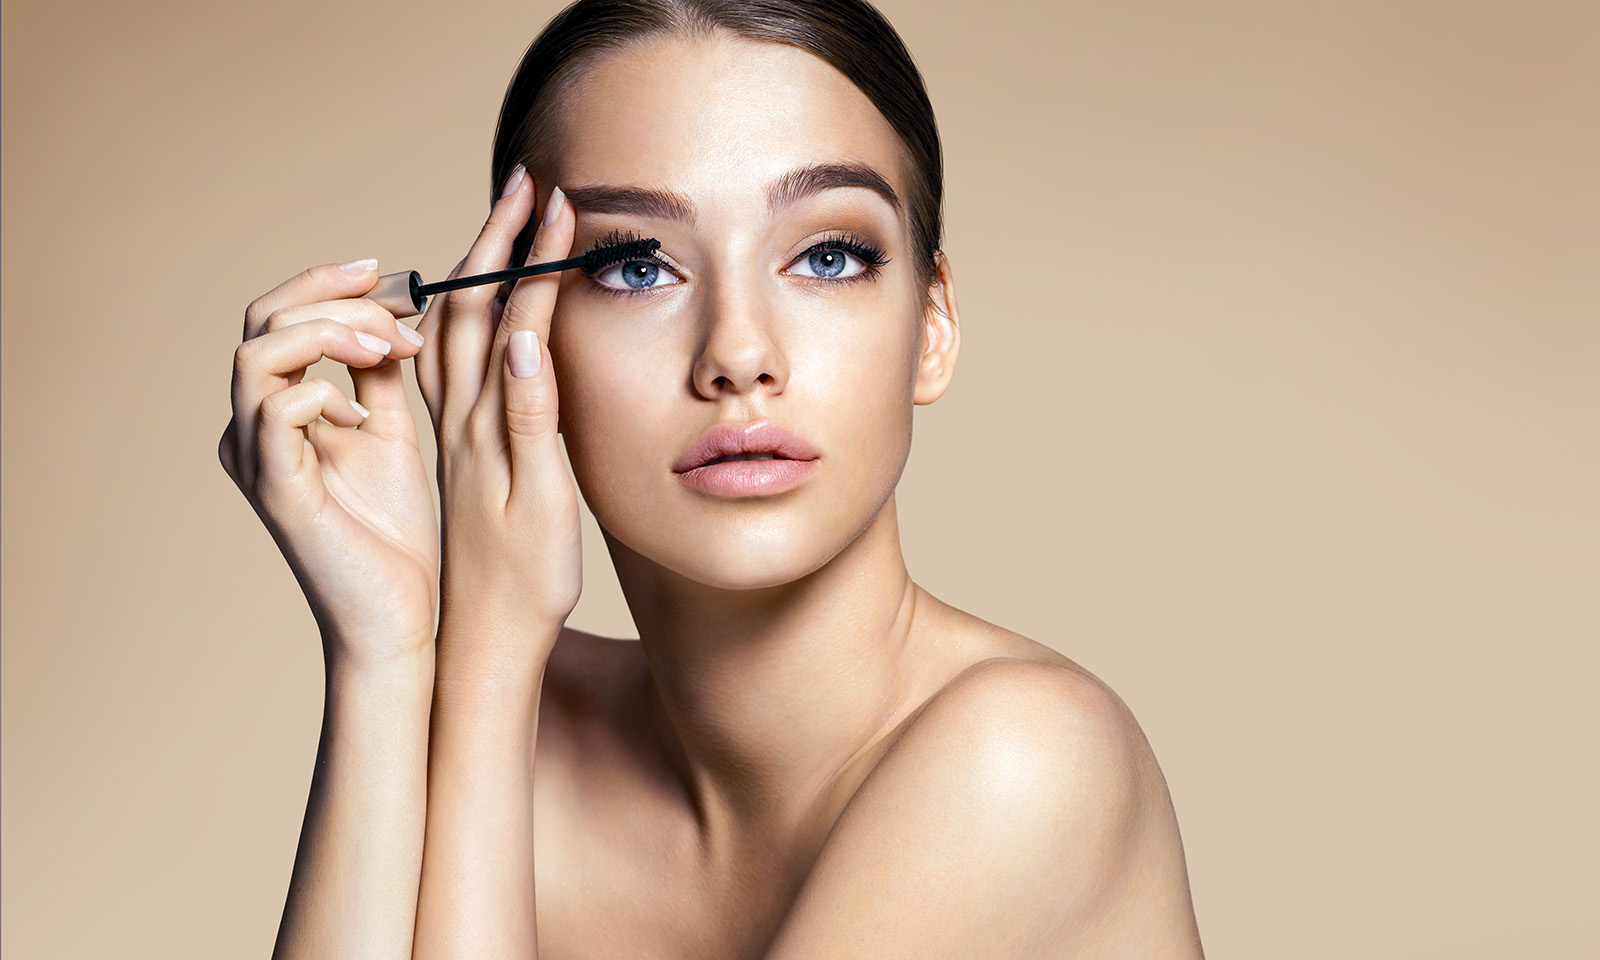

We don’t like to go all out with our makeup every single day, but when we are going for full glam, false lashes are an absolute must! Nothing quite elevates a look and gives it that extra drama like a dramatic pair of falsies. While some may be blessed with naturally long and fluffy lashes, some of us have barely visible lashes. For the unfortunate latter, false lashes are a godsend! The only problem is that some of the most popular false lash brands are rarely ever cruelty free and vegan. Unfortunately, fluffy lashes often require mink fur or animal hair. This makes it hard to find the perfect false lash while remaining vegan and cruelty free. So, we’ve put together a guide to the best cruelty free and vegan false lash brands and how to wear them!
How To Make Sure You’re Getting Cruelty-Free Lashes
When it comes to picking out vegan and cruelty free lashes, there is one big rule to figuring out the right brand for you; avoid the word Mink! There are so many extremely popular brands such as Velour and Huda Beauty that sell Mink lashes while claiming to be cruelty free. Their websites all claim that the mink fur is collected from free-range mink farms or during shedding season.
By nature, Minks are aggressive animals and there actually is no cruelty-free way to collect their fur. Brands that claim to use Mink fur are automatically not cruelty free, so be very careful with that!
Cruelty Free and Vegan False Lash Brands
-
Aether Lashes
-
Georgie Beauty
-
l.f.
-
Adorn
-
KAT Lash
-
House of Lashes
-
EcoTools
-
Helen Dowsley
How To Perfect False Lash Application
While false lashes are gorgeous and elevate any makeup look, they’re also extremely tricky to apply. Many of us have given up after numerous attempts, but with these few simple tips and tricks you can easily get the perfect false lash application!
- Begin by lining your lash line: Whether you’re going for a full on cat eye or not, you should still lightly line your lash line to help the false lash band blend in naturally!
- Apply mascara first: A very common mistake can be to apply mascara after the lashes are on, that’s just going to clump up your false lashes and make them impossible to use again.
- Trim the falsies: Another common struggle when it comes to lashes is that the strip is way too long. Lashes can really look heavy on your eyes and super unnatural if they aren’t personalized to your eye shape. Try the lash on before applying any glue and figure out how much you need to trim to get it right. Make sure to trim the inner corner rather than the outside; you don’t want to cut off the fluttery effect!
- Let the glue dry: When applying glue to your lashes make sure to very lightly apply it to avoid any clumping. More importantly, let your glue dry for about 30 seconds to let the glue get tacky. The tackier the glue is the easier the application will be. Wet glue can get messy and end up all over your lids!
- Come in from the top: When going in with the lashes come in from the top. That can sound strange but applying the lashes straight on can leave them looking flat, but if you go in from the top when applying then you’ll get the perfect curl to your lashes and the perfect angle!
- One more round of liner: Once the lashes are on and the glue is dry, go over the band with a black liquid liner to further blend the band in and avoid any visible glue!
YOU MIGHT ALSO LIKE:
A Secret to Building Fuller Lashes


